 Australian Solar Institute
How to Install an Underground Sprinkler System
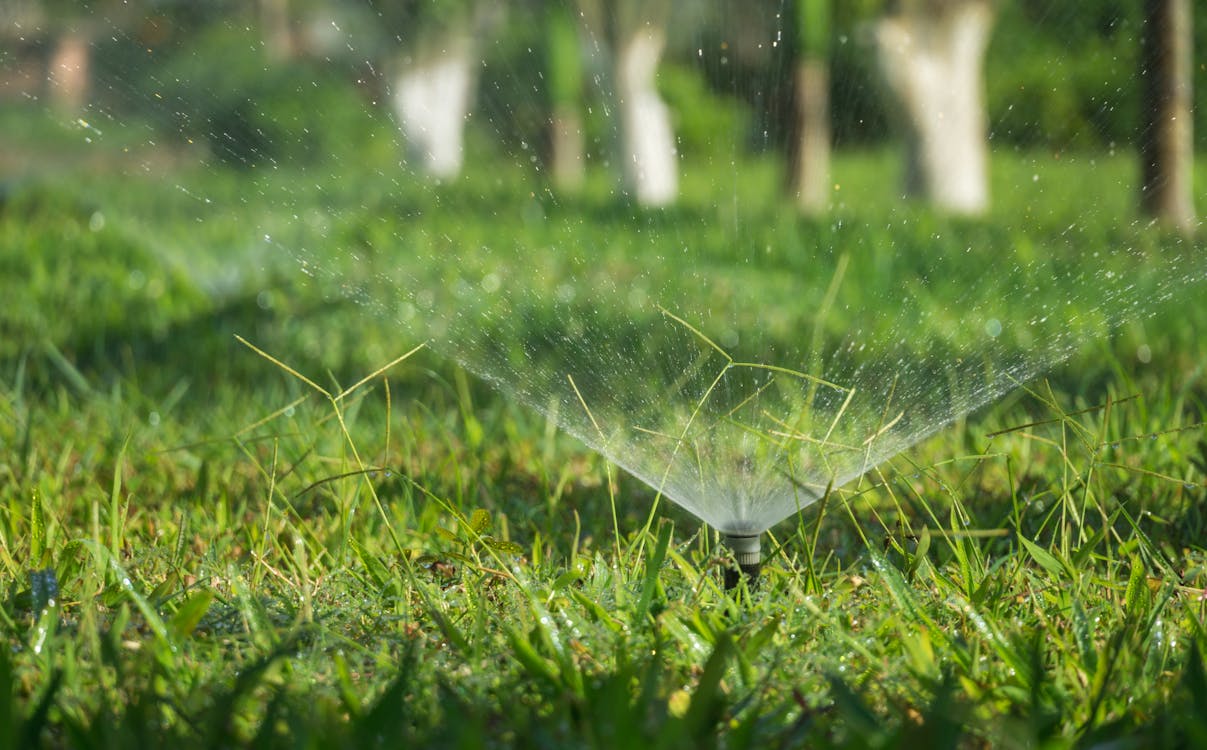
Watering your lawn can sometimes feel like an everyday chore, especially during those warmer months. The good news is, that technology comes to our aid in the form of underground sprinkler systems. These are an efficient and time-saving solution that keeps your lawn lush, green and healthy. This blog post will guide you, step-by-step, on how to install an underground sprinkler system by yourself, transforming your lawn into an effortless paradise!
Step 1: Design Your Sprinkler System
Before you begin digging, it's essential to plan how you will layout your sprinkler system. Have a clear blueprint of your garden or landscape. Identify where your main water supply line is and where you want your sprinkler heads to be placed. Ensure they are evenly distributed to fully cover all areas. Convenient and popular software for this task could be Google Earth or even simple graph paper.
Also, keep in mind to plan for different zones if you have a larger lawn or garden. Sprinkler systems work best when split into separate zones, to manage water pressure effectively.
Step 2: Gather All Necessary Materials and Tools
Once you’ve designed your system, make a list of the best garden accessories you will need:
- PVC pipe or Polyethylene tubing
- Sprinkler heads and nozzles
- Control valves
- Pipe cutters
- Shovels
- Valve manifold
- A backflow prevention device
- A timer
- PVC cement
- Connectors, tees, and elbows
- Thread seal tape
- Pipe fittings
- Garden waste bag
- Rain gauge
You can find these at your local hardware store or you could purchase a sprinkler system kit online, which comes with most of the required parts.
Step 3: Prep Your Yard
Before you start digging, call your local utility marking service to make sure you won't hit any utility lines. They’ll mark the location of all utilities for you - remember that safety always comes first!
Step 4: Dig Your Trenches
The next step is to dig trenches at least 6 inches to 8 inches deep along your marked lines for your pipes to lay. Make the trenches straight and wide enough for your pipe plus some wiggle room. Keep the excavated dirt at the side of the trench for backfilling later.
Step 5: Lay Your Pipes
Start laying your pipes according to your plan from the main water supply to different parts of your garden. You can connect the pipes using PVC cement for PVC pipes or clamps for Polyethylene pipes. Always make sure joints are snug and secured.
Step 6: Install Sprinkler Heads and Valves
Now that you've laid your pipes, install the sprinkler heads, attach the nozzles and adjust the angles. You also have to install your control valves at this point. These valves help control the water flow to each zone.
Step 7: Install a Backflow Preventer and Controller
It’s vitally important to install a backflow preventer next. This device prevents water from your sprinkler system from flowing back into the clean water supply. After taking care of that, install the controller (timer), to automate your watering schedule.
Step 8: Test Your System
Before covering up your trenches, it's time to test your system. Gradually open the main water valve and check for leaks. Make sure the sprinkler heads are working correctly and all nozzles are correctly adjusted.
Step 9: Fill The Trenches
Now that everything is working properly, backfill the trenches. Remember to pack the soil down gently around the pipes to avoid any damage.
Putting in the effort to install an underground sprinkler system can seem like a daunting task, but the payoff is worth it. Not only will you save time on daily watering, but you’ll also reduce water waste and enjoy a healthier, greener lawn or garden.

Customizing Your Sprinkler System for Efficient Watering
Once your system is up and running smoothly, consider tailoring it further to ensure efficient water use and to cater to the specific needs of different areas within your landscape. This includes using different types of sprinkler heads optimized for various plants and ensuring zones are correctly set up based on sun exposure and plant type. For example, drip irrigation lines can be more effective for your flower beds or vegetable garden since they deliver water directly to the plant's roots, minimizing evaporation and water waste. Smart controllers that adjust watering schedules based on local weather forecasts can also significantly improve water efficiency. Investing a little more in these customizations can lead to significant savings on your water bill and contribute to a healthier, more sustainable environment.
Seasonal Maintenance Tips
To keep your underground sprinkler system functioning at its best, regular maintenance is crucial. Before the onset of winter, it's essential to winterize your system to prevent any damage due to freezing. This often involves shutting off the water supply and using compressed air to blow out any remaining water in the pipes. Conversely, at the start of the spring, perform a thorough check-up of your system, looking for any signs of leaks, damaged sprinkler heads, or obstructions. Adjustments may also be necessary to realign sprinkler heads and fine-tune your watering schedules to adapt to the current weather patterns and plant needs.
Overcoming Common Challenges
Despite careful planning and installation, you might encounter some challenges with your underground sprinkler system. One common issue is leaky pipes or sprinkler heads, often signalled by unusually soggy areas or an unexpected increase in your water bill. Regular inspections can help catch and address these issues early on. Another challenge is ensuring even water coverage, requiring occasional adjustments to sprinkler head angles or swapping out nozzle sizes for optimal distribution. Understanding how to troubleshoot these minor issues yourself can save you time and money while ensuring your lawn remains verdant and thriving.
Sustainable Watering Practices
Installing an underground sprinkler system is a step toward maintaining a lush lawn with efficiency and convenience. However, it's also vital to practice sustainable watering practices. This includes watering during the early morning hours to reduce evaporation, selecting drought-resistant plant species, and adjusting your watering schedule based on seasonal rainfall. By doing so, you not only conserve water but also create a more resilient and low-maintenance landscape. Remember, a well-planned and maintained sprinkler system, combined with sustainable practices, is key to achieving a beautiful and environmentally friendly outdoor space.
Incorporating these additional steps and considerations into your underground sprinkler system project can elevate the functionality, efficiency, and sustainability of your lawn irrigation efforts. By customising your system, performing seasonal maintenance, troubleshooting common challenges, and adopting sustainable watering practices, you'll ensure your lawn and garden thrive for years to come, all while conserving water and saving time.